Hello everybody, it is Drew, welcome to my recipe page. Today, we’re going to make a special dish, how to clean squid - you can eat the legs and liver, too!. One of my favorites food recipes. For mine, I will make it a bit unique. This is gonna smell and look delicious.
How To Clean Squid - You Can Eat The Legs and Liver, Too! is one of the most well liked of recent trending meals on earth. It’s appreciated by millions every day. It is simple, it is fast, it tastes delicious. They’re nice and they look wonderful. How To Clean Squid - You Can Eat The Legs and Liver, Too! is something that I’ve loved my whole life.
Whole squid or calamari is easy to clean for recipes. These step-by-step instructions with photos will show you how to properly clean a squid. It's sold for a premium price, but you can harvest your own while cleaning a whole squid.
To begin with this recipe, we have to first prepare a few components. You can cook how to clean squid - you can eat the legs and liver, too! using 3 ingredients and 12 steps. Here is how you can achieve it.
The ingredients needed to make How To Clean Squid - You Can Eat The Legs and Liver, Too!:
- Make ready 1 Squid (I used surume squid this time)
- Prepare 1 Salt
- Make ready 1 Sake
Cleaning Squid: To Start, Just Pull Gently pull the legs away from the body. Wash the squid thoroughly and remove the tentacles by pulling them away from the body. Remove the entrails from inside the body together with the clear quill. Remove the purple membrane from the outside of the body.
Steps to make How To Clean Squid - You Can Eat The Legs and Liver, Too!:
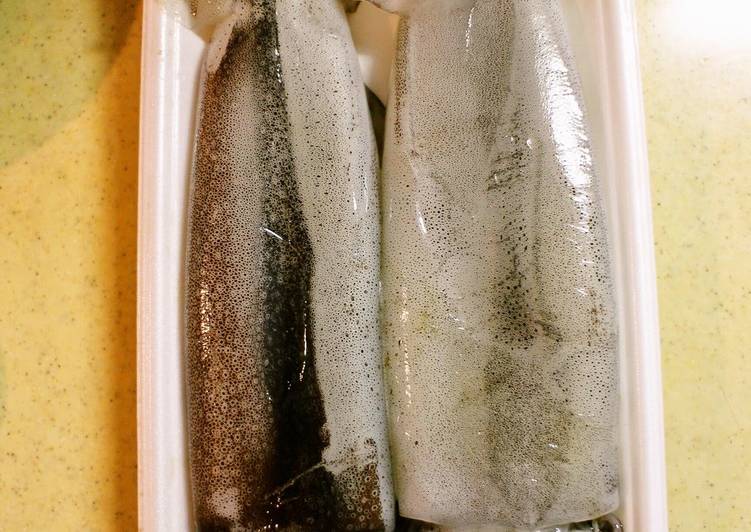
- I'll clean a surume squid this time.
- Wash the squid. Pry apart anything that is attached to the inside of the body with your fingers.
- Hold onto the body and the part around the eyes tightly, and pull very very gently. The insides will slip out. Whoa!
- Pull the plastic-like cartilage out slowly too to remove it.
- The base of the body where the cartilage was attached is tough and not very nice to eat. Scrape it off with a knife.
- Put your hand in the body again, and take out any slimy bits left in there. Rinse the body well and use in any recipes you like! I made squid stuffed with rice.
- Take the legs off next. Cut the legs off right under the eyes. Push between the eyes firmly and the beak (a round hard thing) will come out, so remove it.
- Cut the legs apart as you like.
- Put the legs on a cutting board and sprinkle with salt. If you press down on the legs with your palm and move your hand in a circular motion, you can remove the hard bits stuck to the suckers.
- Rinse the legs, put them in a colander, and sprinkle with more salt. Use in your favorite recipes!
- Remove the liver: The liver is covered in a thin membrane. Open it up so that you don't crush the liver and take the liver out carefully. Work gently so that you don't break the ink sac. (The long thing part in the photo is the ink sac and the round red part is the liver.)
- I took it out in one piece. Put it in a colander and sprinkle with salt to remove the fishy smell. Use in your favorite recipes!
Using a sharp knife, cut off the fins. This rudimentary anatomy makes cleaning a squid simple and straightforward. Grasp the middle portion, where the eyes are located, and Very small baby squid are often cooked and eaten whole, just like baby eels and small finned fish. Larger squids' sexual organs and liver are sometimes eaten. And while the fishmonger will clean squid for you, you'll end up paying extra, so in this post we'll show you how to clean your own squid.
So that’s going to wrap it up with this special food how to clean squid - you can eat the legs and liver, too! recipe. Thanks so much for reading. I am sure you can make this at home. There is gonna be interesting food at home recipes coming up. Remember to bookmark this page on your browser, and share it to your loved ones, friends and colleague. Thanks again for reading. Go on get cooking!